Furniture Refinishing 101: How to Turn Old Pieces into New Treasures
Share
Hey there! Ever looked at an old, battered piece of furniture and thought, This could be something amazing? Well, you're in the right place. Refinishing furniture can be a rewarding way to breathe new life into old pieces and create unique treasures for your home. Whether you’re a seasoned DIYer or just starting out, this guide will walk you through everything you need to know about furniture refinishing.
Why Refinish Furniture?
Why bother with refinishing? For me, it's all about the thrill of transformation. There's something incredibly satisfying about taking an item that’s seen better days and giving it a second chance. Plus, it's eco-friendly and cost-effective. Instead of buying new furniture, which can be pricey and sometimes not as well-made as older pieces, you get to customize something that already has history and character.
Getting Started: What You’ll Need
Before diving into the actual refinishing process, let's gather some essential tools and materials. Here's what you'll need:
- Sandpaper (various grits)
- Paint stripper
- Putty knife
- Scrubbing pads
- Wood filler
- Primer
- Paint or stain
- Polyurethane finish
- Brushes and rollers
- Drop cloths or old sheets
Having these items on hand will make the whole process smoother and more enjoyable.
Step-by-Step Guide to Furniture Refinishing
-
Choose Your Piece Wisely:
Start by selecting a piece of furniture that has good bones—something sturdy without too much structural damage. Wooden chairs, tables, dressers, and nightstands are great choices for beginners. -
Prep Your Workspace:
Set up a workspace in a well-ventilated area. Lay down drop cloths or old sheets to protect your floor from dust and spills. Trust me; this step saves a lot of cleaning time later! -
Remove Old Finish:
Now comes the messy part—removing the old finish. Apply paint stripper according to the manufacturer’s instructions and let it sit for the recommended time. Once it starts bubbling up, use a putty knife to scrape off the old paint or varnish. This might take several rounds depending on how thick the original finish is. -
Sanding Time:
After stripping away the old finish, it's time to sand the piece down to its bare wood. Start with coarse-grit sandpaper (like 120 grit) to remove any remaining finish and smooth out rough spots. Gradually move to finer grits (up to 220 grit) for a smooth surface. -
Fix Any Imperfections:
Inspect your piece for any cracks or holes that need filling. Use wood filler to patch them up, then sand again once it’s dry to ensure a seamless surface. -
Prime It Up:
Priming is crucial if you plan on painting your piece. A good primer will help paint adhere better and provide an even base color. Apply one or two coats of primer and let it dry completely before moving on. Some woods bleed tannins so make sure your primer is made specifically for keeping the tannins at bay. -
Paint or Stain?
Here’s where you get creative! If you’re going for a painted look, apply your chosen color in thin, even coats using brushes or rollers designed for furniture painting. If you prefer staining, brush on your stain evenly following the wood grain direction and wipe off excess with a clean cloth. -
Seal The Deal:
Once your paint or stain is fully dry, apply a polyurethane finish to protect your hard work from scratches and wear over time. Opt for either matte or glossy finishes depending on your desired look.
Personal Tips & Tricks
I’ve been down this road many times before, so here are some personal tips:
- Test Colors First: Always test paint or stain colors on an inconspicuous area first.
- Stay Patient: Give each layer ample drying time—you don’t want smudges ruining your masterpiece.
- Use Quality Brushes: Cheap brushes can leave bristles behind; invest in quality ones for the best results.
- Ventilation Matters: Proper ventilation isn’t just about comfort—it’s also important for safety when working with chemicals like strippers and paints. Wear a proper safety mask made for sanding and spraying.
Final Thoughts
Refinishing furniture isn't just about making old things look new; it's about creating something uniquely yours while enjoying every step along the way! So next time you spot that tired-looking table at a garage sale or inherit grandma's dresser that needs love—remember this guide! Happy refinishing!
And hey—share pictures of your projects! I’d love to see what beautiful creations come out of this adventure!
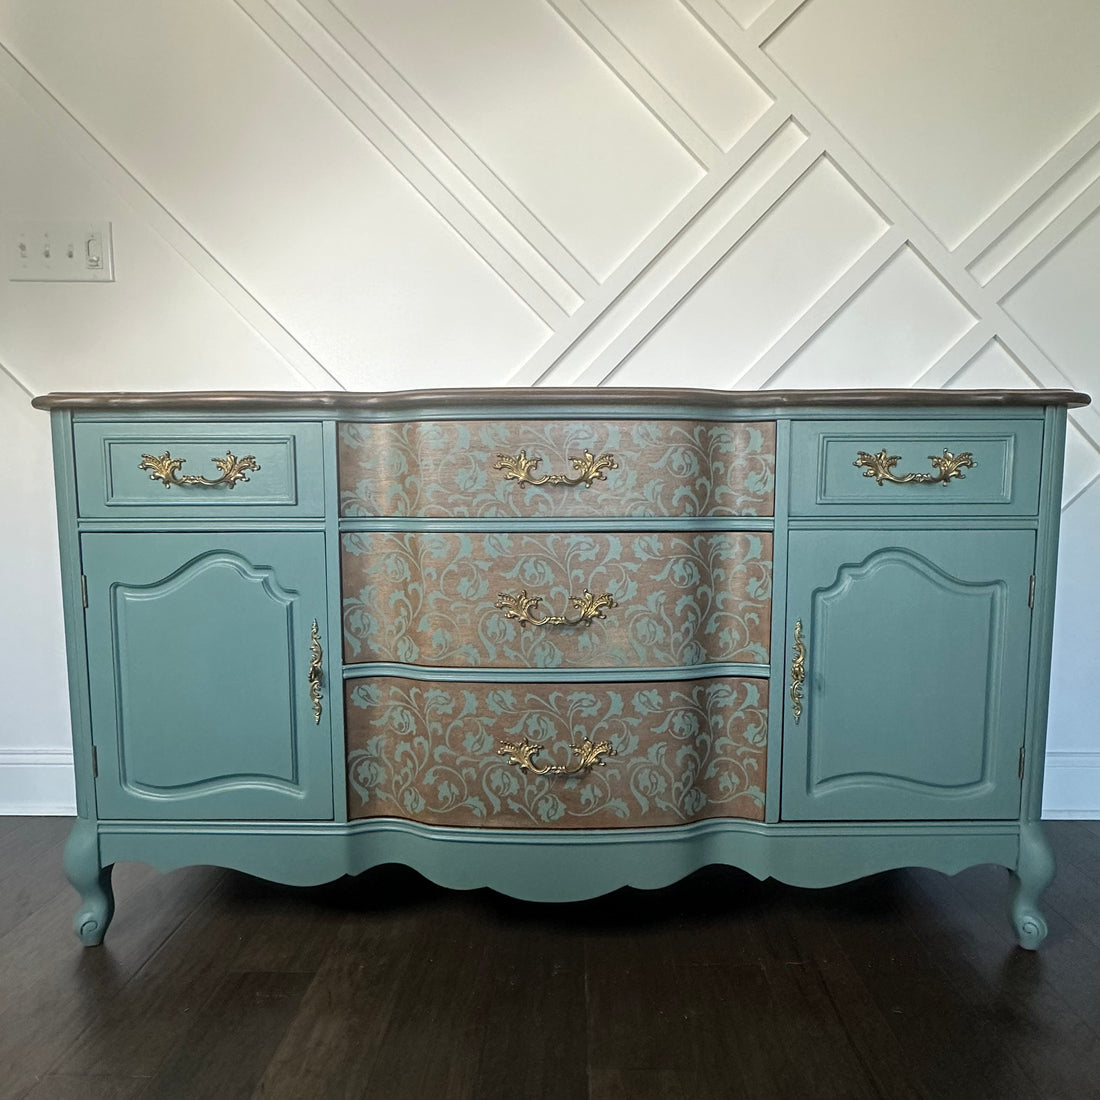
Here's a few pictures of a project I love.


I love the transformation.
-Cheryl
Ready to simplify your life? Grab our simple living starter checklist here.
